DIY Dining Room Chairs with
We used to have the funnest dining room chairs around. I gave them a full make over this weekend, and they are no longer fun.
They are fabulous.
But let’s start at the beginning. When we moved into this big house six years ago, we had four chairs. Four chairs are not enough for big house dinner parties. Also in the ‘not enough’ category were funds for new chairs….
Until DH called me one day five years ago only minutes after leaving the house and said, “{insert neighbour across the street’s name} has six dining room chairs outside on the lawn!” And being me I promptly hustled out of the house, across the street, and asked how much?….and guess what!? She just gave them to me! #awesome
They were hideous.
A horrid and faded blue velvet or simulated velvet-like fabric was what passed for seat cushions and the actual chair frame was a very solid, but ugly 70’s wood. But they reeked of potential.
And this is what I turned them in to. So fun right!?
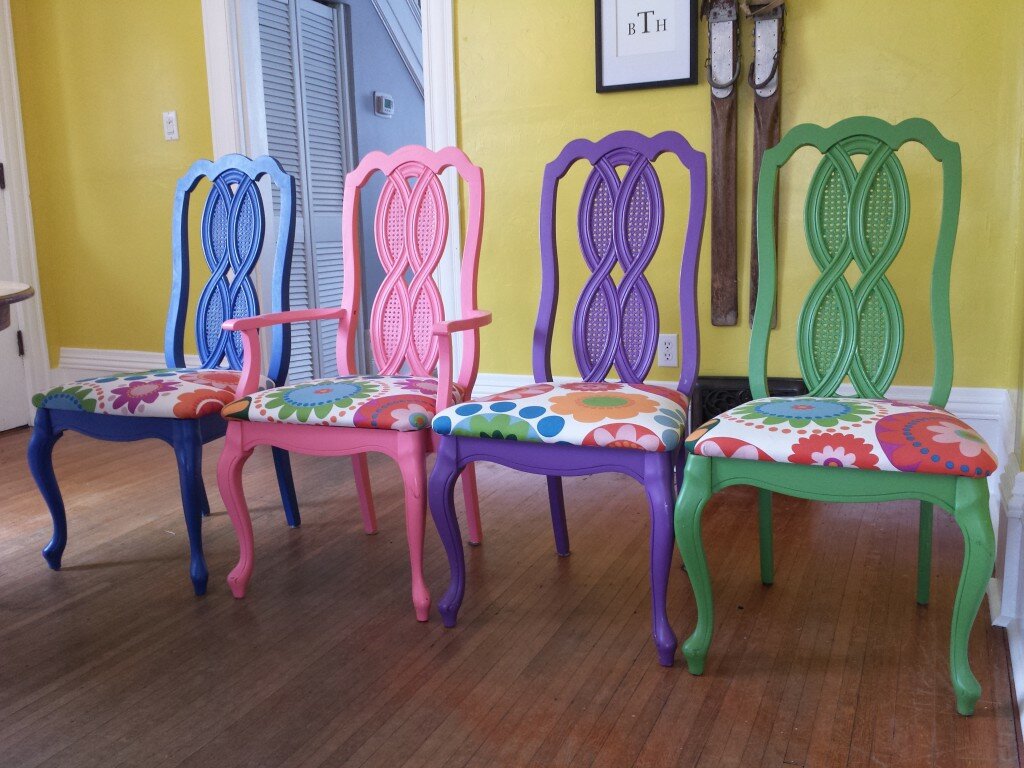
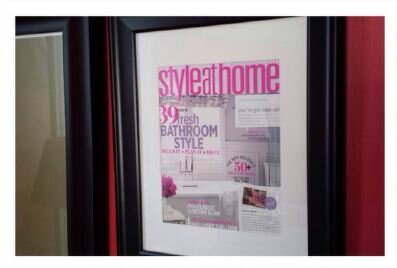
They even won a little contest in Style at Home magazine. I have the issue framed in our living room!
And then came a few years of dinner parties, brunches, holidays, our dogs’ flying saliva, and other life happenings, and the chairs developed a few kicks and chips. The fabric was faded from the sun and had been spot cleaned one too many times.
After painting our open concept kitchen dining room bright and cheery PARA Paints Plantain Chips yellow, I knew the chairs were due for a facelift. Plus, I found the bright walls and bright chairs too preschool-like for me.
Enter Tonic Living and some serious amounts of spray paint. Ever since discovering this Toronto fabric store, I have mentally decorated every room in our house with new curtains, blinds, and bedding. Not kidding. I regularly browse their online fabric store and am constantly inspired.
I had a crazy hard time figuring out which fabric I would pick for this project, but eventually selected this simple geometric fabric, Graphic Fret in Greystone.
It wasn’t until the fabric was in my hands that I finally decided on what colour the chairs would be. I constantly flip flopped between a few colours: deep charcoal grey, the dove grey from our hallways, white, or black. I even debated chalk board paint.
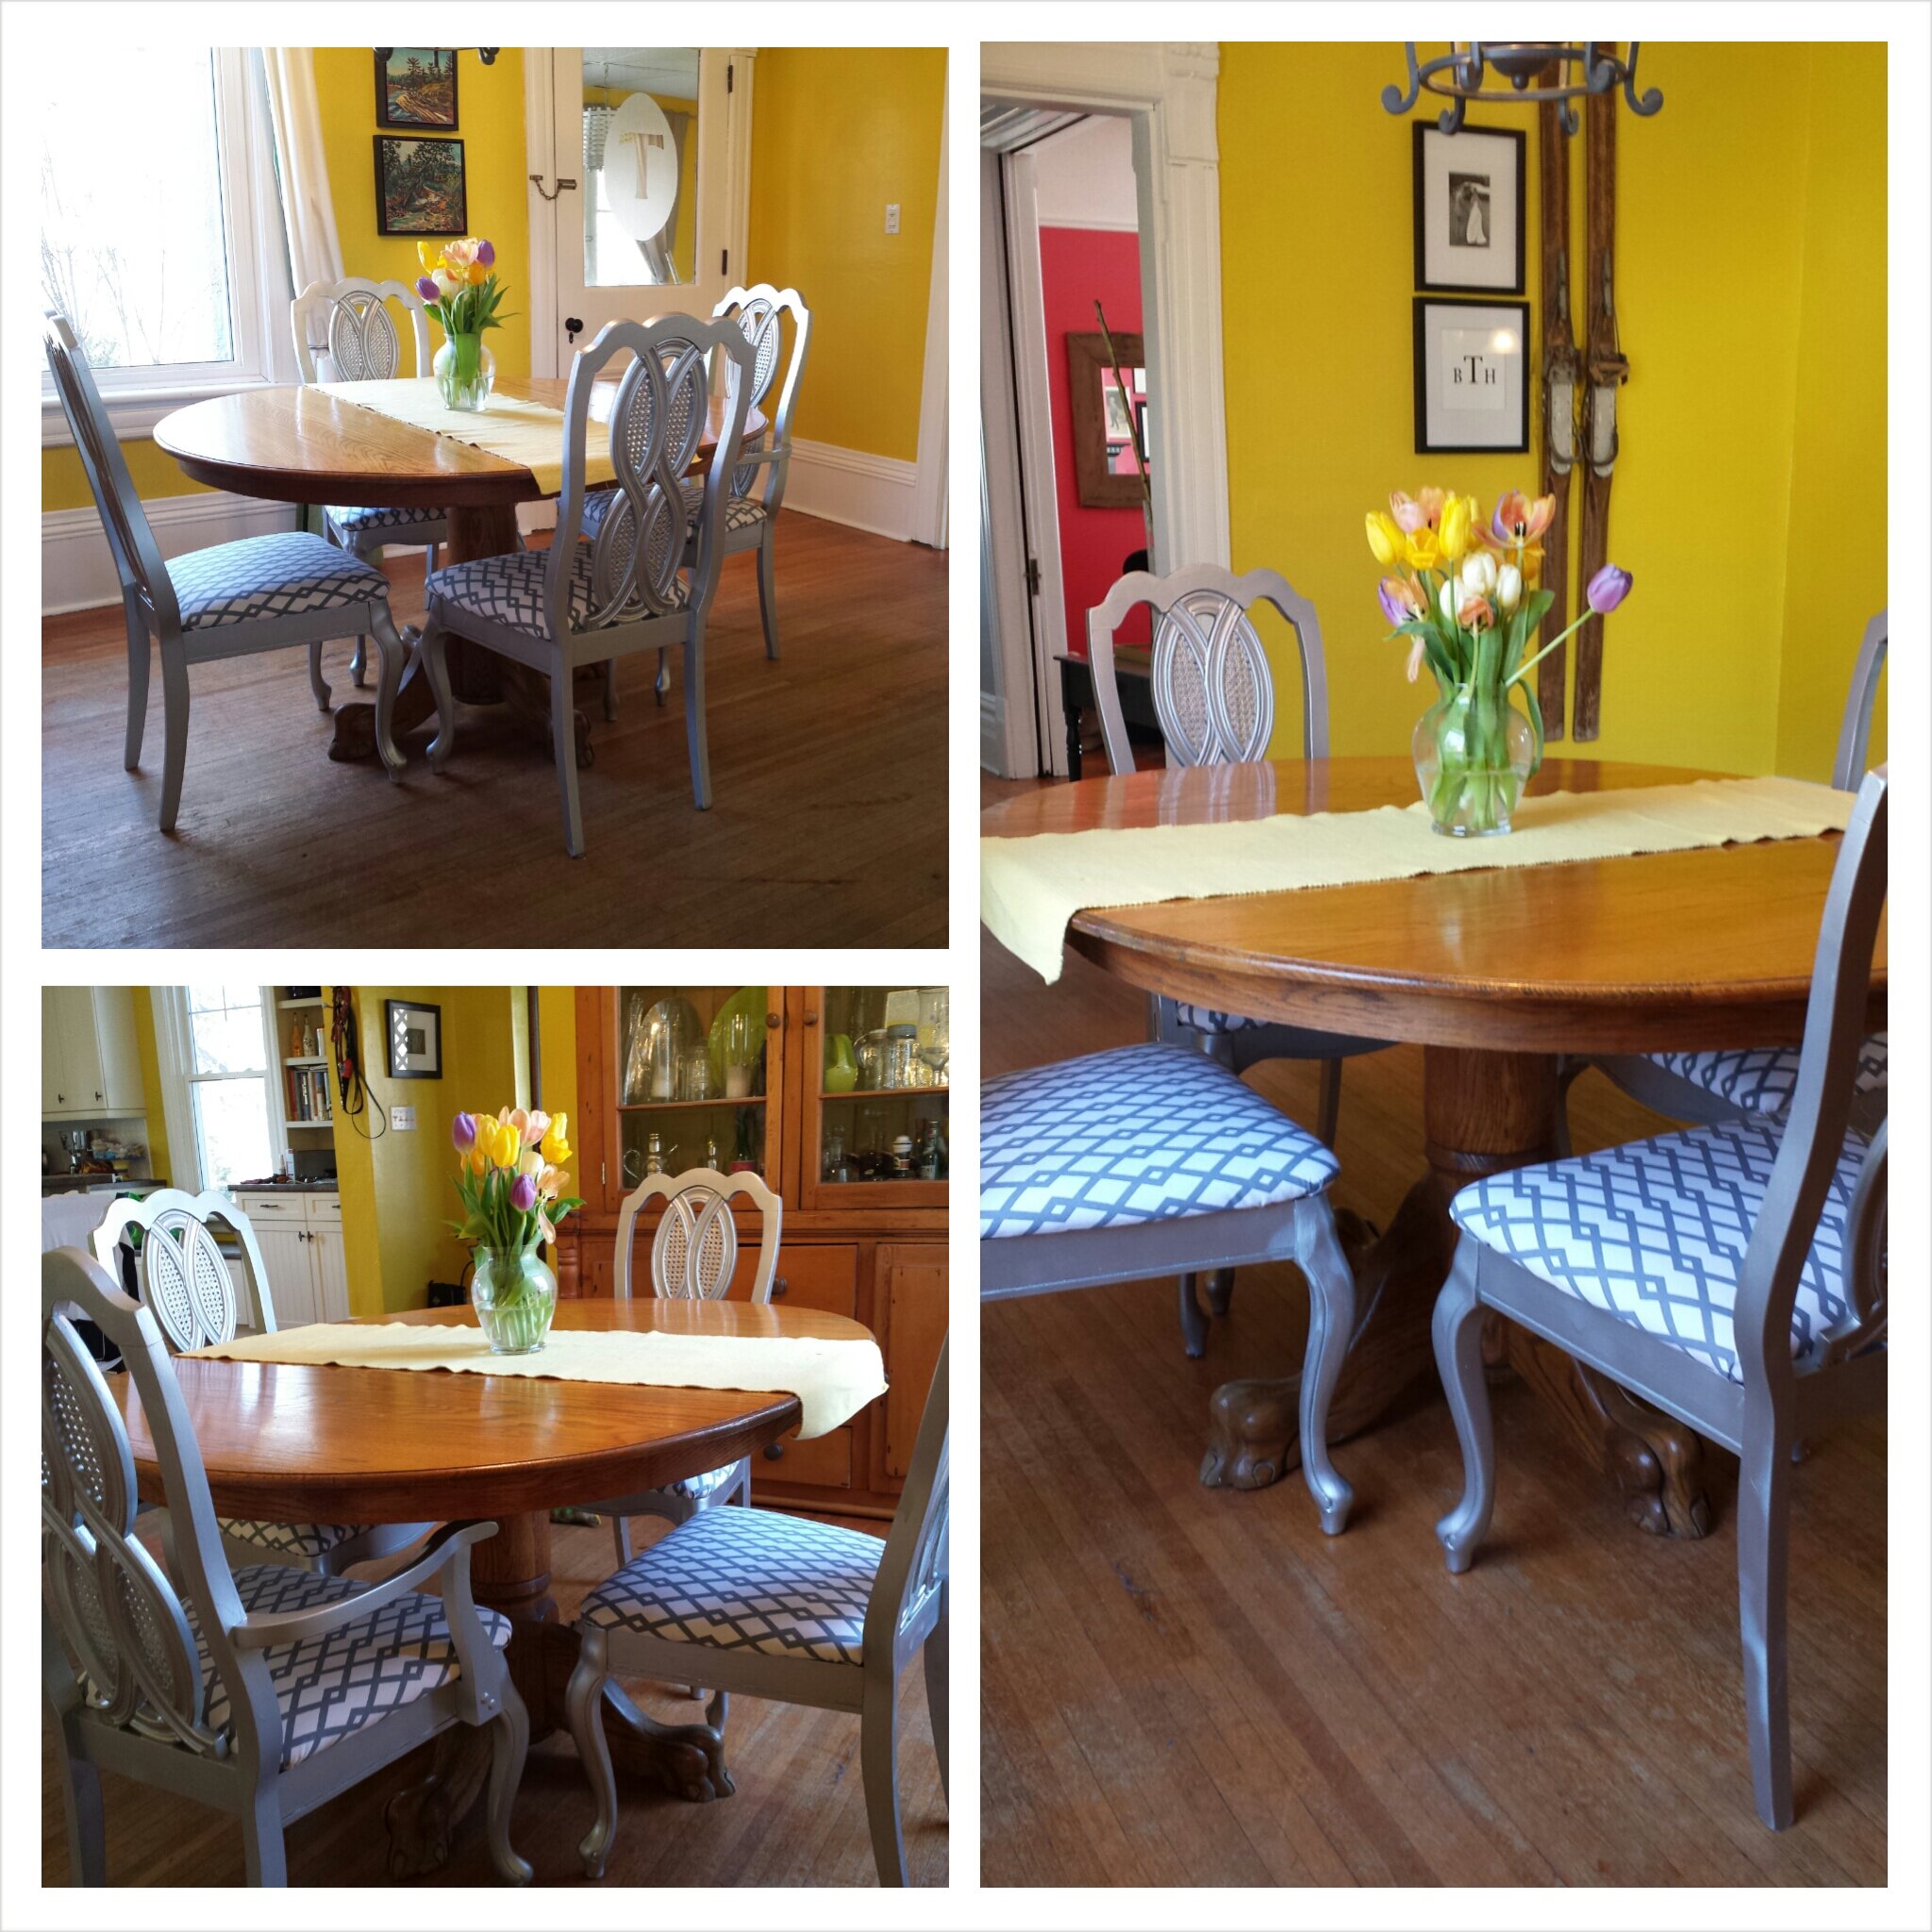
I settled on silver. And it’s fabulous!
To complete the project I:
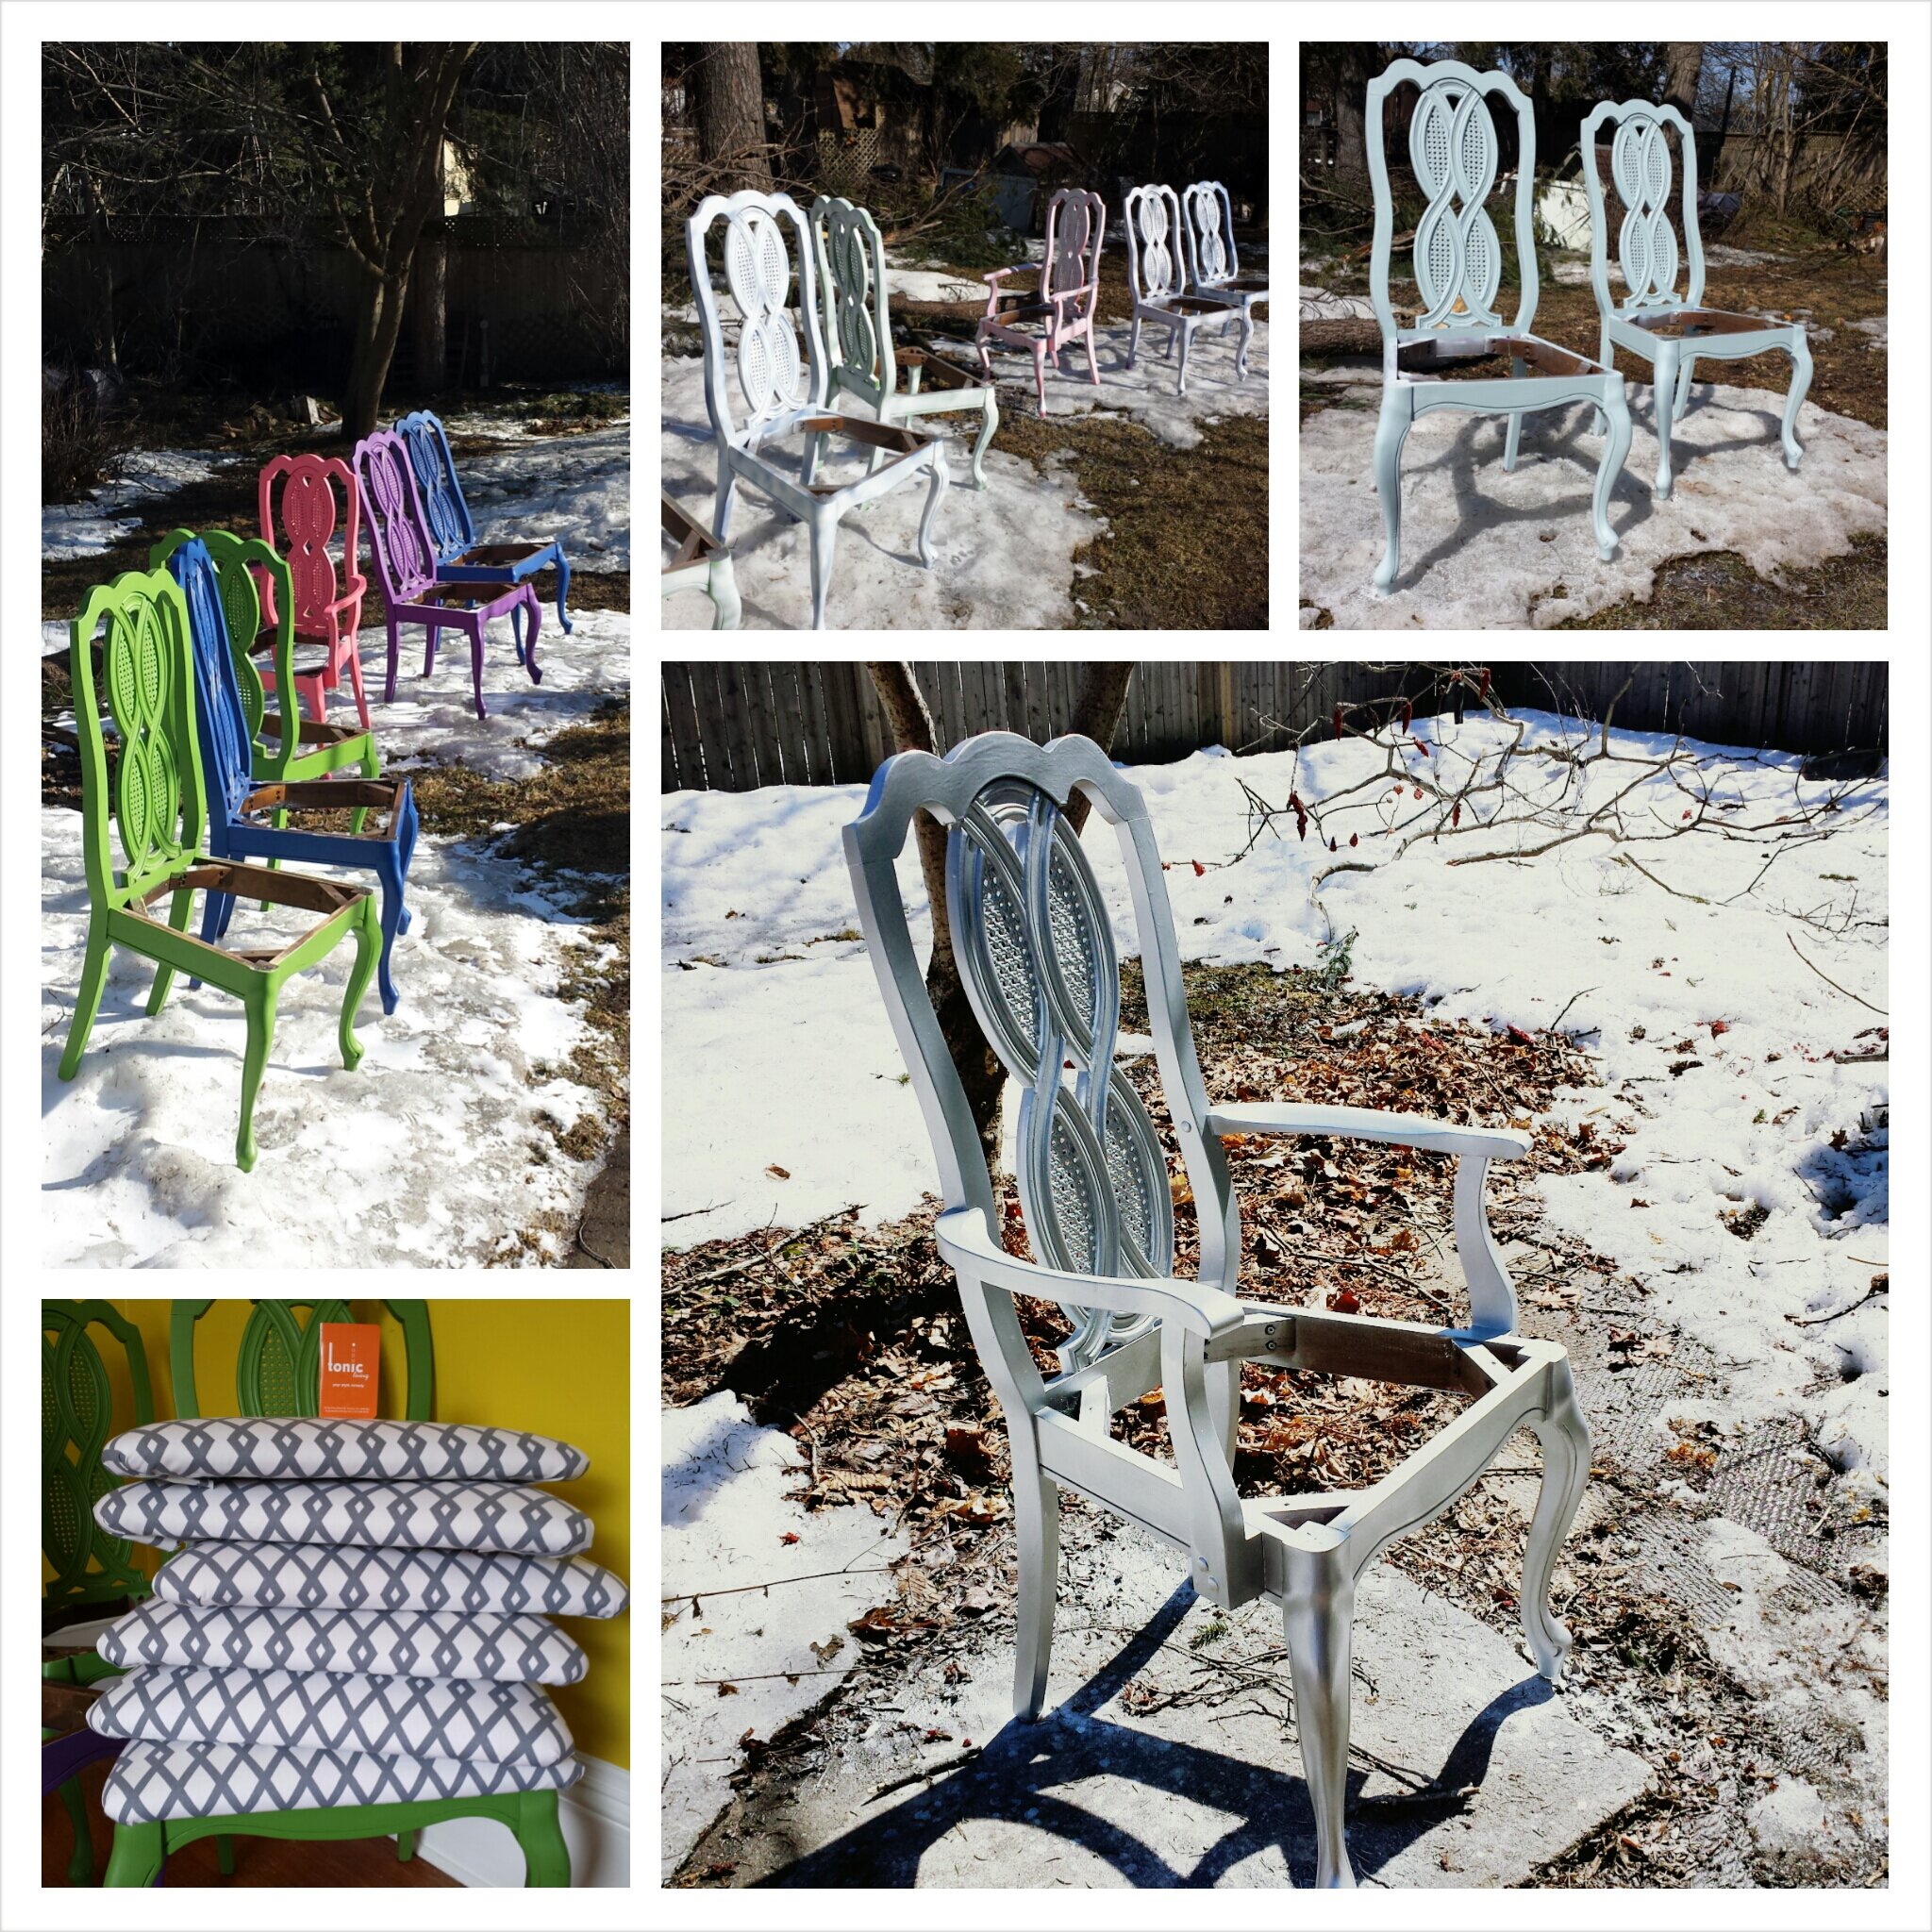
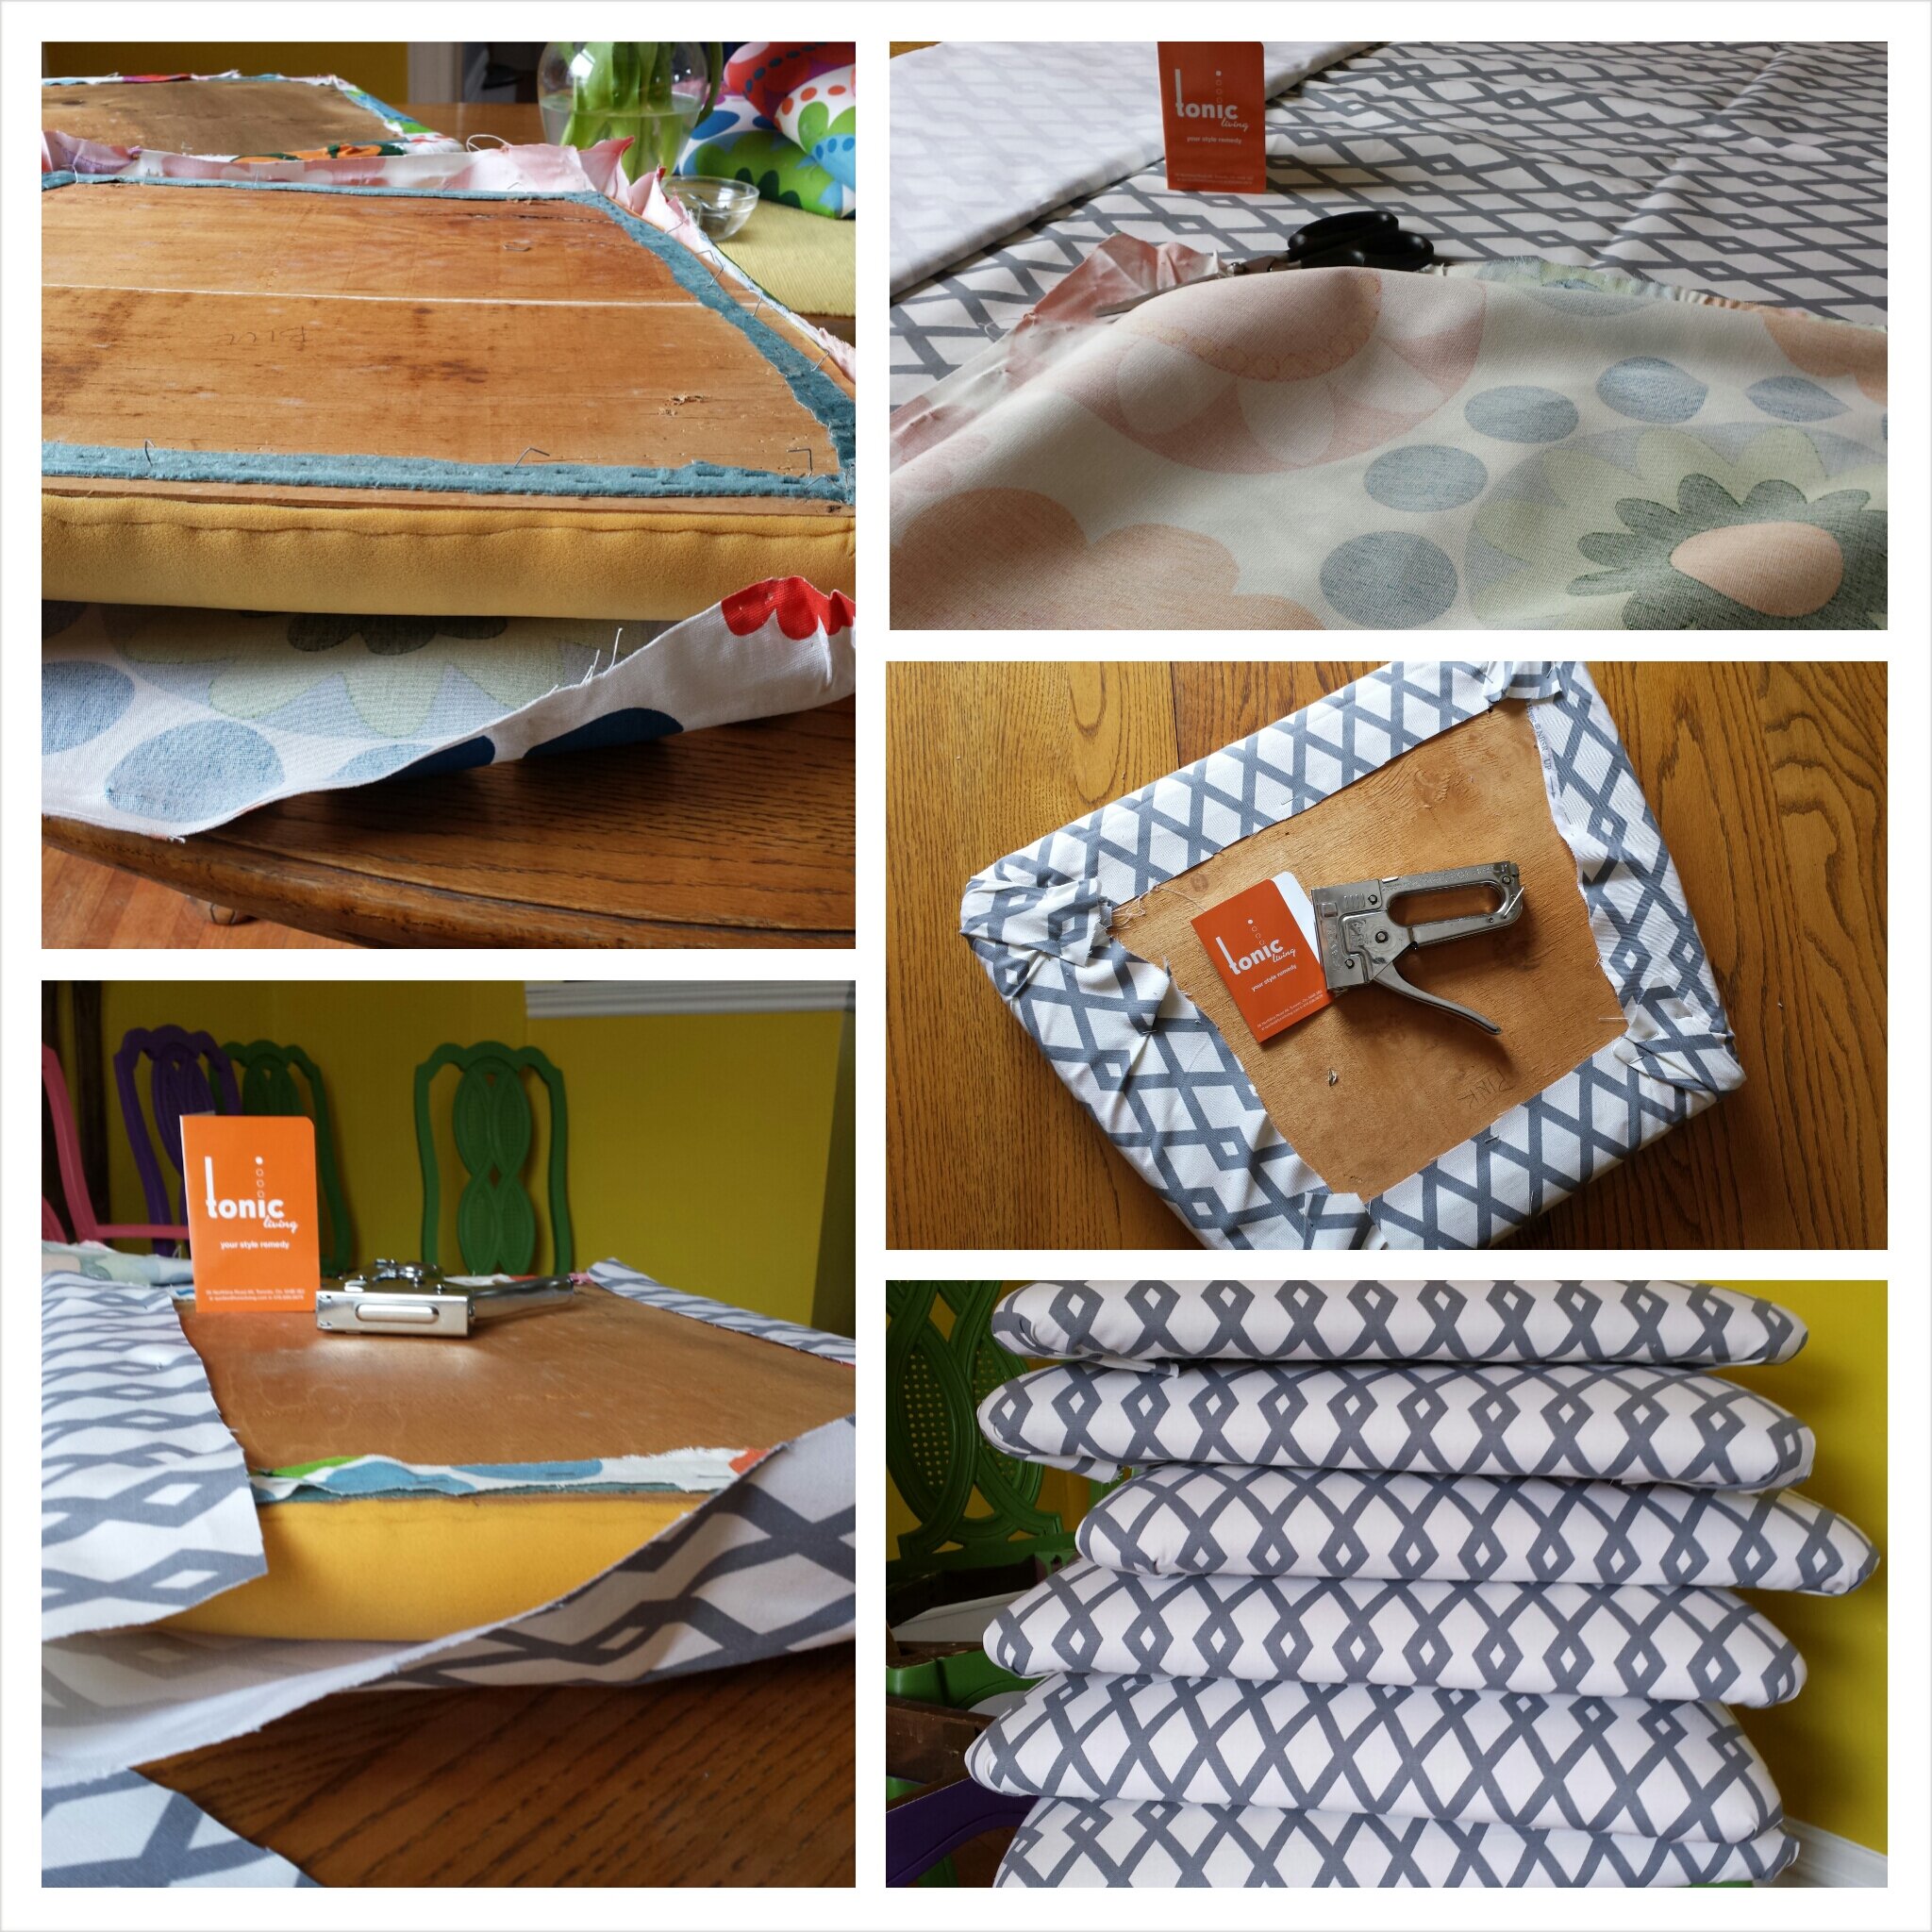
· Removed the old fabric from the seat cushions, saving one to use as my template for the new ones.
· Sanded down the chairs and used the opportunity to use up random half empty cans of white spray paint as a quick base coat.
· Once that dried, gave each of the chairs a solid coat of grey paint (using up leftovers from another project). This gave the chairs a good base for the silver.
· Spray painted the heck out of each of the chairs and let them dry.
· Used the template cushion to cut out eight new chair covers (there are two extras for the times when spot cleaning just won’t do #SMRT).
· Pulled out my trusty staple-gun and got to work!
Once everything was dry, I put the chairs and the seats back together and taadaa! See what I mean? FABULOUS!
Huge thanks to Tonic Living for providing the fabric for this project!


I loved the chairs when you first did them and now WOW! Well done Heather.
Thanks so much Isabelle:)
Both ways look AMAZING! You got me really inspired!
Thanks so much Tracey!:) amazing what some paint and fabulous fabrics can do:)! It's hard not to be inspired by all the fab Tonic Living fabrics - so many great prints!
I love how they look against those yellow walls! (Truth be told: what I love even more is that you referenced Homer Simpson.)
LOL:) thanks Heather!
Nice work Heather! It's like changing from flip flops to sexy silver heels. Well done & I love that fretwork fabric too. :-)
so true! great analogy Meredith, I love it! yes, the fabric is just perfect!
From fun to fabulous - most definitely! What an interesting life your chairs have had so far. Great choice on the fabric!
Thanks Jen! if only those chairs could spill all the dinner party secrets LOL:)! they could write a book!
Thanks so much for sharing your project on our #PARABlogCrew link party. I love what you did! Your chairs look amazing with your new wall colour!
Thanks so much Sabrina!:)
Wow love the new look! Isn't it great that you were able to reuse free chairs to create 2 unique and fun looks? And I love the yellow walls - such a fun and cheerful colour.
Thanks Dani! yes, agree totally - love that free chairs turned out so well TWICE, LOL! :) amazing what a little paint can do:)
They look beautiful, love that fabric and it goes great with the silver!!
Thanks so much Heather:)!
These are beautiful! The silver and that gorgeous fabric are perfect!!
Thanks so much Jo-Anna:) I knew as soon as I saw the fabric that silver would be just perfect - I'm so pleased with how it turned out:)
Pingback : Sunny Projects & Rising Waters | Newberry Sykes
Pingback : Heather In Heels » Taking Life One Fabulous Step at a Time » my dirty little secret…
Pingback : Heather In Heels » Taking Life One Fabulous Step at a Time » Help me Love My Laundry Room
Pingback : Heather In Heels » Taking Life One Fabulous Step at a Time » DIY No Sew Faux Roman Blinds
They look FAB! I love the silver so much. Thanks for linking up to Motivational Monday!
thanks so much Christina!:)