Project Guestroom
Our guestroom was the first room I did anything to. The rest of the house (except the main powder room) was a colour I like to call “sell my house beige”. Boooooring. But the guestroom, well ….. it was something special.
It was this.
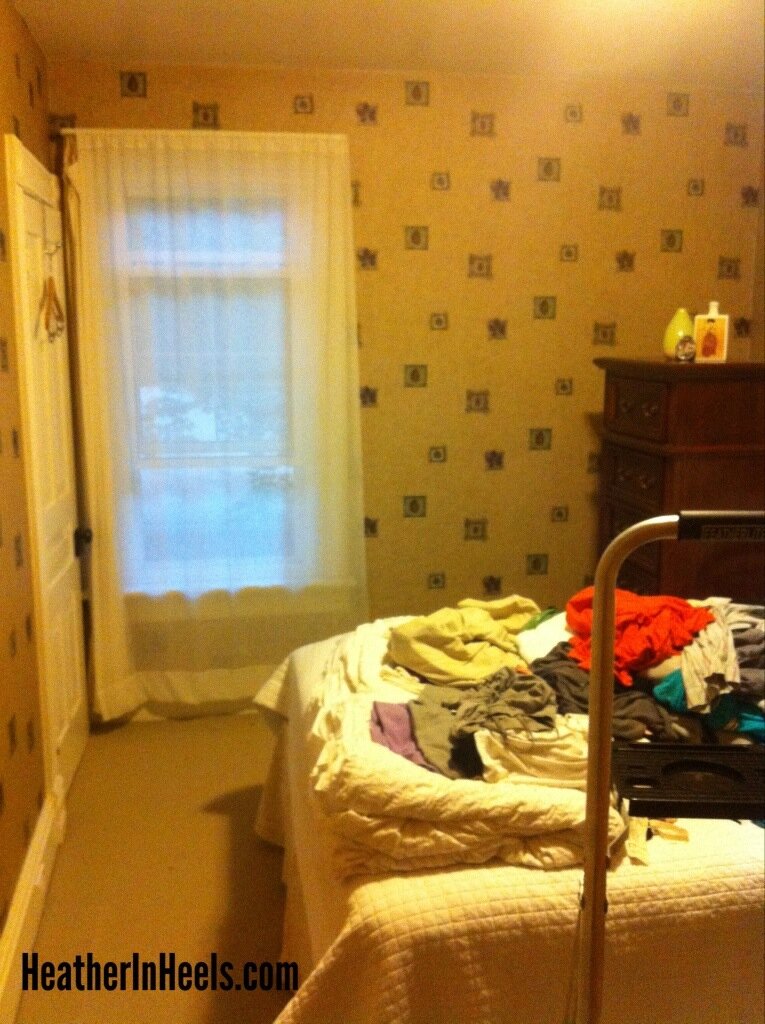
(yes, that’s about four loads of laundry waiting to be folded)
I am not sure what redeeming quality anyone ever saw in this wallpaper ….ever, but wow. It was somethin’ ugly. It had to go.
I researched online about removing wallpaper and once I had all my supplies, which included a glass of wine, I got started. Most sections of the wallpaper came off in nice clean strips, but in trouble areas I discovered why there was wallpaper in the first place.
Super horrible wall condition. Yay. Did I mention this house has been standing since 1898?
Once all the paper, or most of it anyways, was removed I found multiple paint colours and some very uneven walls. I did my best with the sander and some spackle, and figured a few good coats of paint would do the trick.
It didn’t really, but hey – it’s an old house. It’s not perfect. Neither am I.
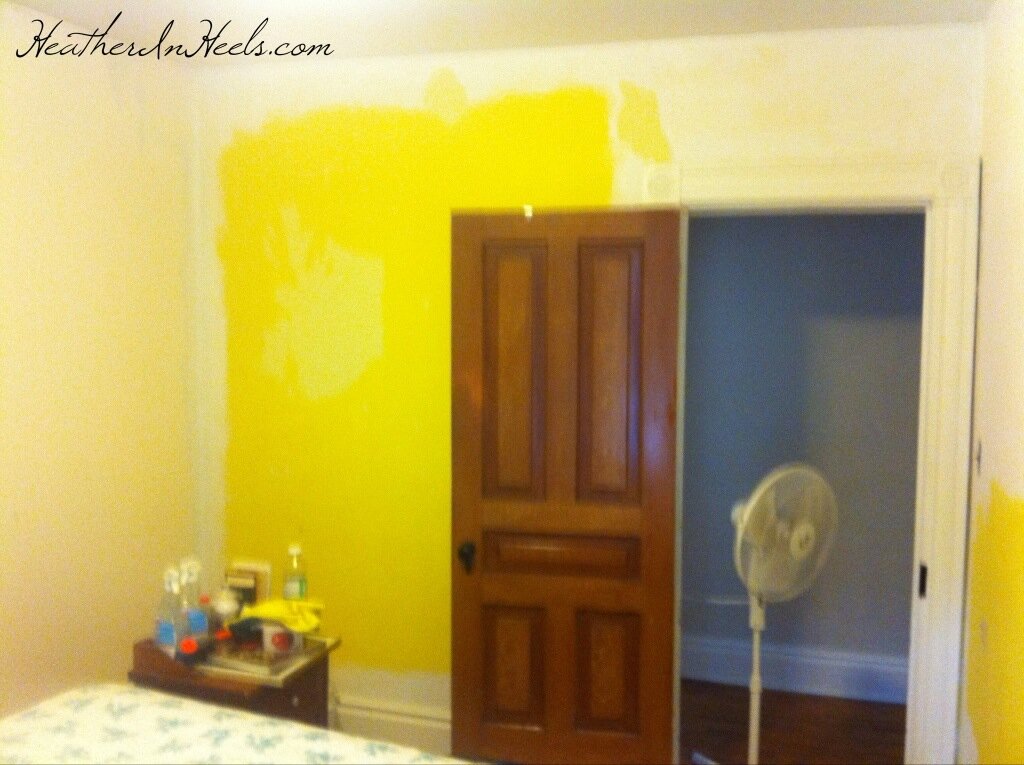
I then got cracking on giving the entire room, ceiling, trim, doors, etc all good coat of primer. I then gave the walls three solid coats of the blue paint and the trim, windows, and doors a nice bright white.
When I was done painting I kept thinking how great the room looked, and how awful the rug was. So, I decided to pull up a corner and see what lurked beneath. Guess what I found? Super lovely hardwood! Hardwood that matches the rest of the second floor. Hardwood that is way easier to keep clean with two giant dogs. Hardwood that looks lovely and really helps the blue paint pop. Needless to say, I was delighted.
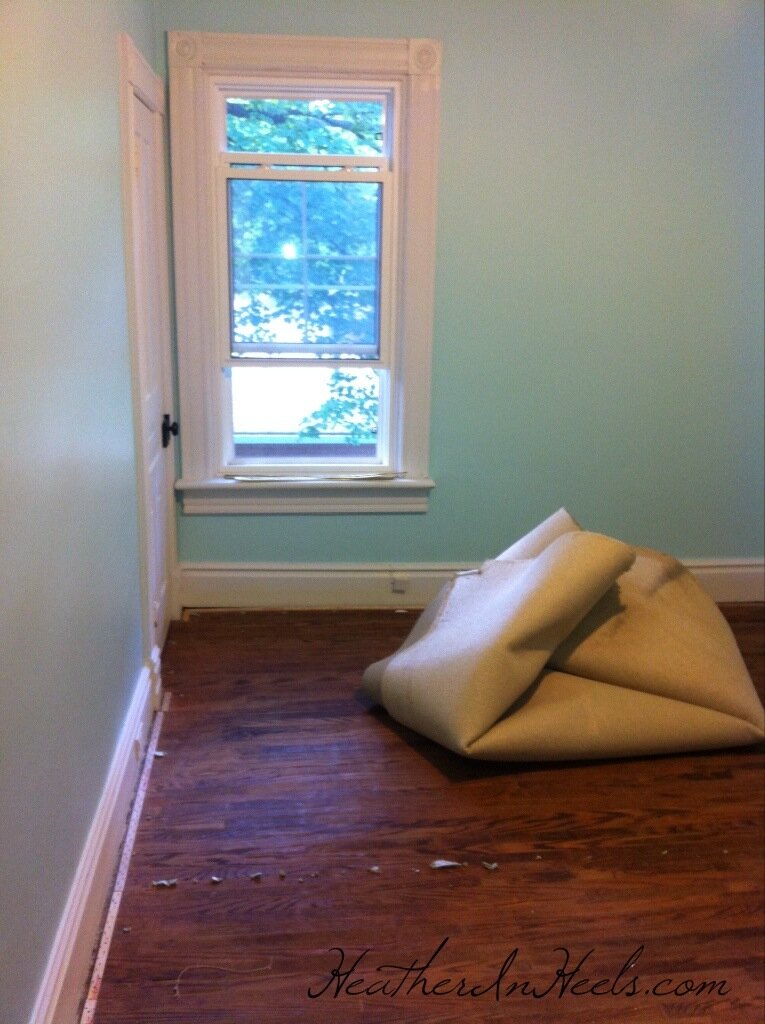
I ripped that sucker up faster than you can say ‘carpet’. It was up, along with the underpadding, and all out the back door in twenty minutes. I was a woman on a mission. I left the super sharp bits that go around the edge of the room for DH to remove. He’s good like that.
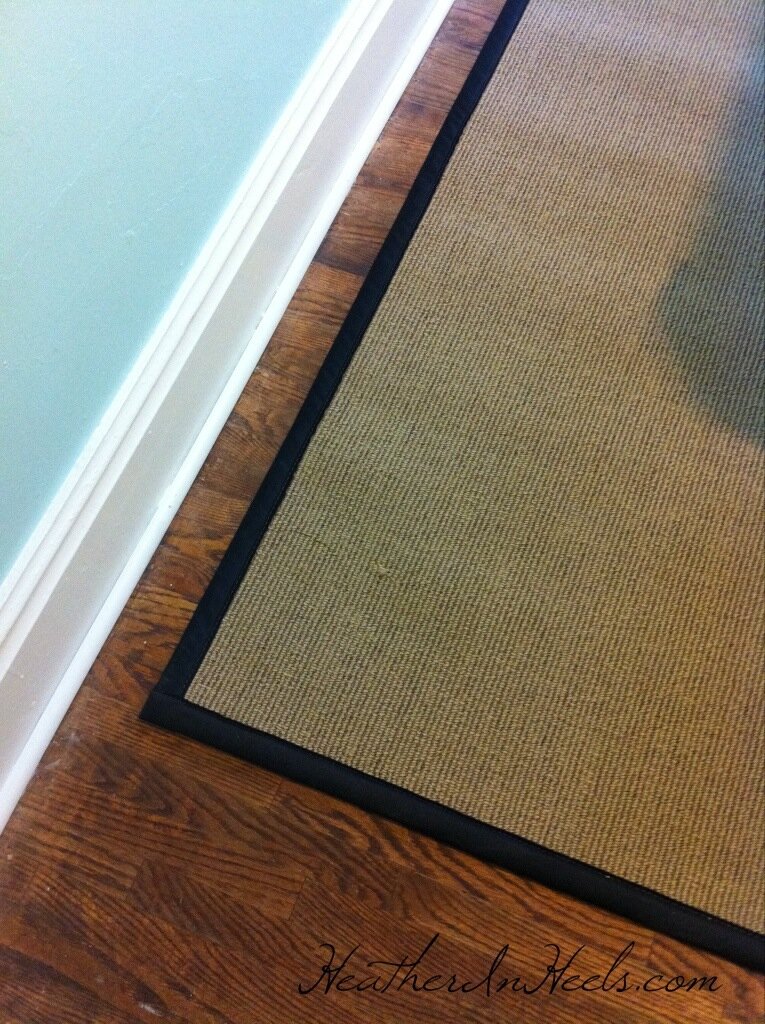
We found a great area rug on sale at Home Depot for under $100 that worked perfectly, brought it home, and the room was ready to get assembled.
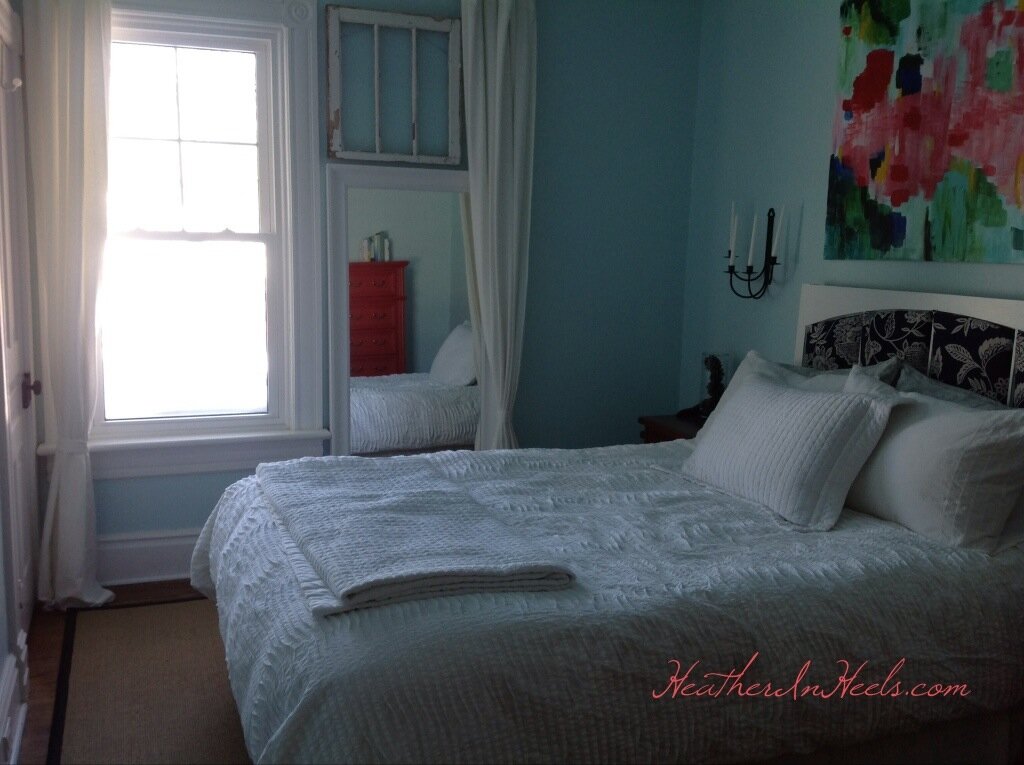
Knowing the wall condition, I decided to put some cut 2×1 pieces of lumber on the back of the headboard I made. This way it would sit behind the bed and rest against the wall, rather than risk falling off the wall in the middle of the night to kill a guest.
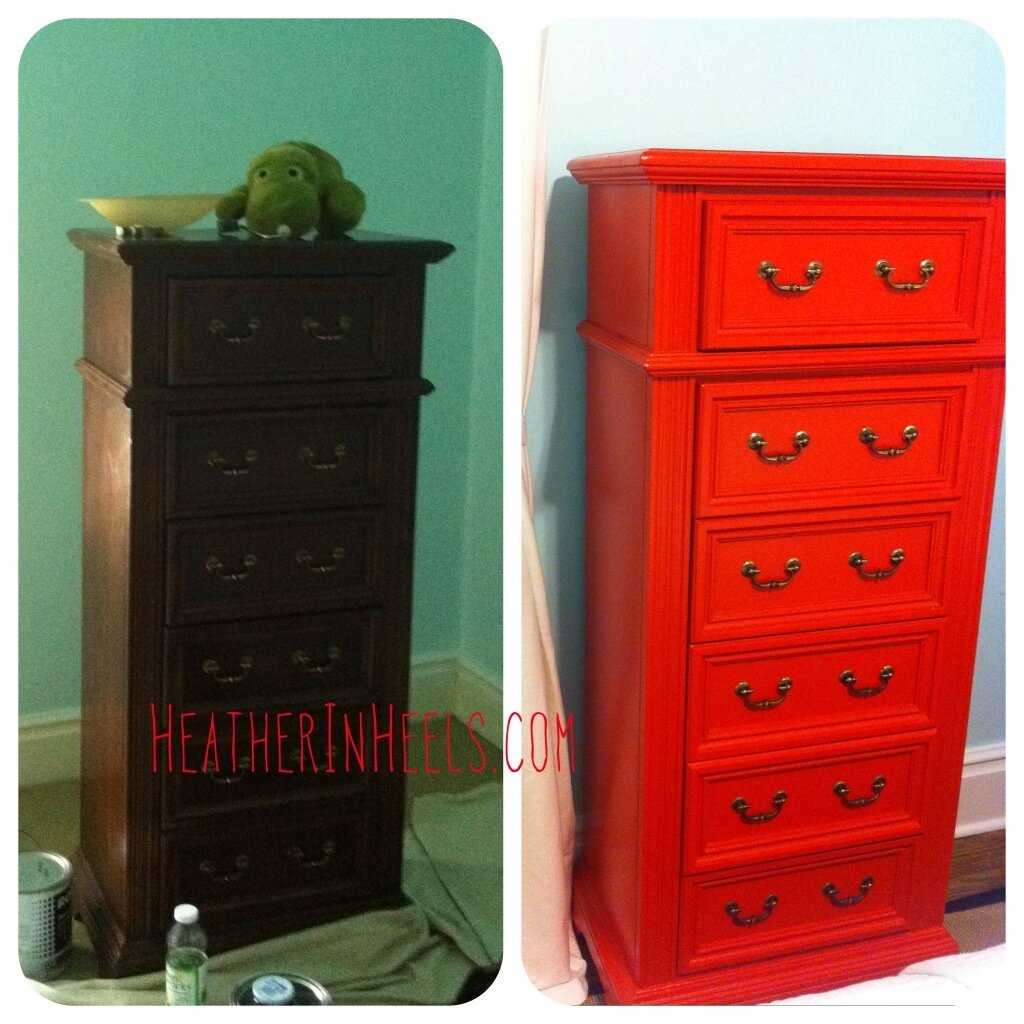
I also, during this room refresh, decided the dresser which came from my grandparents needed to become more fun. So I painted it red. I love it!
To give the illusion the window isn’t stuck in the far corner, I hung an old vintage window and rested a mirror against the wall. Not only does this make the window seem larger, it also gives a great reflection of the red dresser when you first enter the room. I love that dresser.
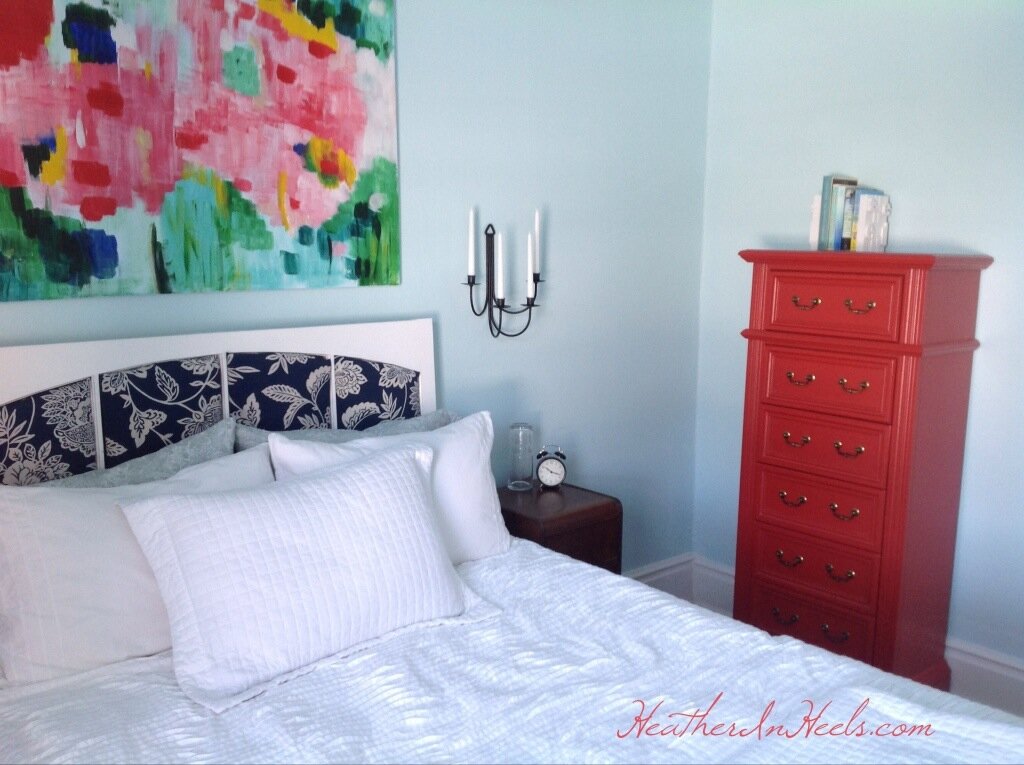
I love this room now. It’s bright, sunny, and welcoming. I just love what a fresh coat of paint can do!
ps. the painting above the bed is one of mine

Pingback : Heather In Heels » Taking Life One Fabulous Step at a Time » The Evolving Hallway
Pingback : Heather In Heels » Taking Life One Fabulous Step at a Time » Original Art
Pingback : Heather In Heels » Taking Life One Fabulous Step at a Time » Project Chandelier